Other Menus
Besides the popup menus in the trees, we
have other kind of menus in the main window:
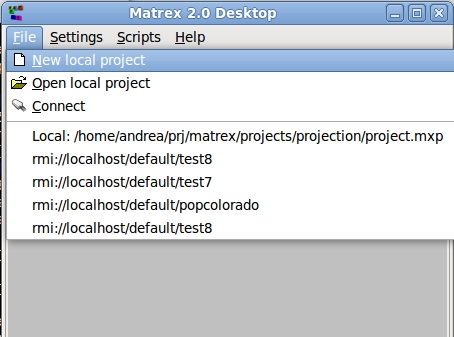
The top menu
It's the menu on the top of the main
window.
In the File section you can create a
project and open an existing project. You can file a detailed explanation in
project
creation/opening.
The top menu contains also a Settings menu to change the application's
settings:

The Settings menu contains:
- the GUI Settings menu item, to
change the GUI settings (date/number
formats, matrices default size).
- the Files Location menu, to specify the
locations of templates, additional libraries and scripts. In this way it
is possible, for example, to add a plugin without writing inside the
Matrex directory (which should be read only).
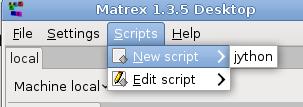
The top menu contains also a Script
section, which allows to create and edit
scripts to use in the templates.
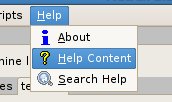
In the Help section you find all
you need to understand the application and get help:
- an about dialog
- the Help Content menu item,
which opens the web browser on the help content
page, which lists all the available help pages.
- the Search Help menu item, which opens the Search Documentation Dialog,
which searches full-text on the
help pages.
Another way to get help is to press F1 (or Ctrl-F1): it shows the help page
about the current window.
The machine tab menu
On the top of each machine tab
there is an arrow button menu. The menu gives the possibility to:
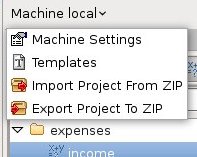
- Change the machine
settings, which determine the behaviour of that specific machine (the
local machine or a remote server).
- Shows the templates tree in a new
window, where you can edit the templates in the machine.
- Export a project to a zip file.
A Matrex project is a composed by several files in a directory tree: one
file for the project, one file for each item (matrix, function...). This
structure makes it very easy to understand the content of the project and
to modify it manually if something goes wrong, but to difficult to copy,
move or send it to someone.
To solve this problem, you can export the project to a zip file.
To do that, click on the Export Project
To ZIP menu item. You need to:
- Select the project file (project.mxp) for the project you want to
export.
- Write the path of the final zip file (by default the file name is
the same as the project name).
The zip file is saved and you can copy, move or send it.
- Import a project from a zip
file previously exported from Matrex.
Click on the Import Project From
ZIP menu item. You need to:
- Select the zip file to import.
- Give a name to the project (by default the same as the zip file
name).
- Select the directory which will contain the project directory.
The project directory containing the project content is created.
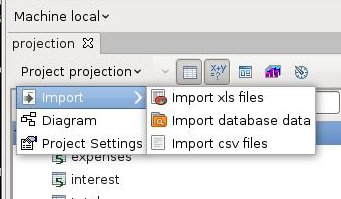
The project tab menu
On the top of each project tab there is also an arrow button menu.
The menu gives the possibility to:
- Import files in the project, so that
their content is converted to Matrex matrices.
- Display the project diagram, to have a global view of the project.
- Change the project
settings, i.e. the settings for the current project.
The tree top menu
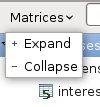
The arrow buttons on the top of each tree also open a menu, used to expand or
collapse the tree.
